This topic discusses importing a text file into a pre-existing database. (If you want to create a new database from a text file, use File>New>New Database from Text File. See Creating a New Database for details on this process.)
You may also want to import data from another database into a pre-existing database, see Import Database to learn how to do that.
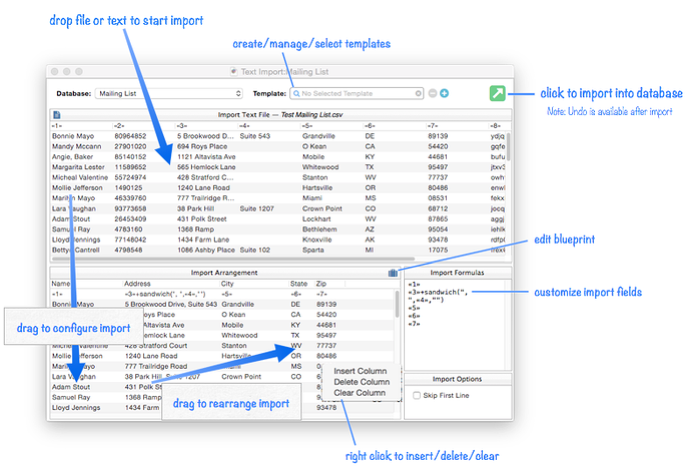
Text Import Wizard
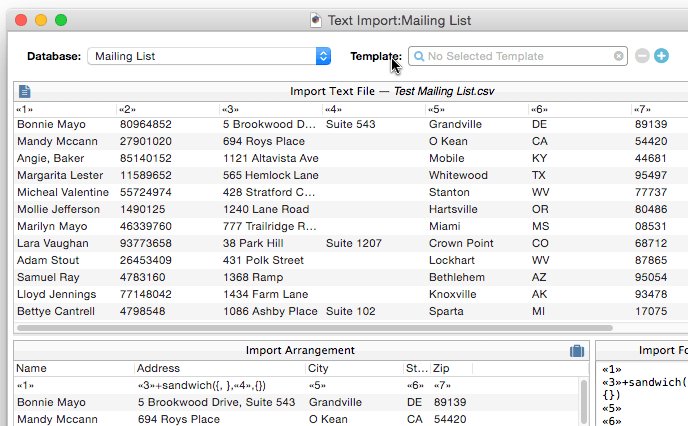
To import text data into the current database, choose File>Import>Import Text File into Current Database… . This opens a panel that allows you to select a text file and configure how the data flows from the text file into the database. Here’s an overview of this wizard.
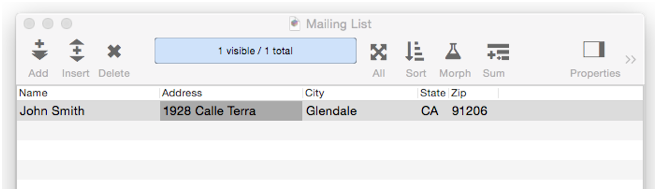
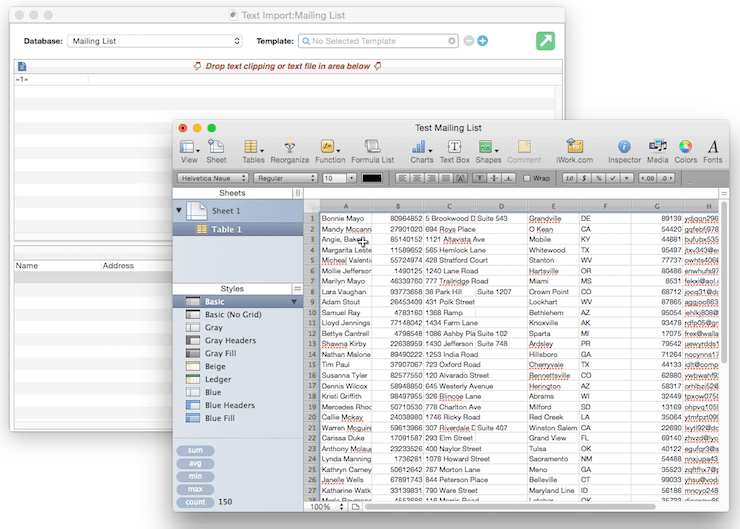
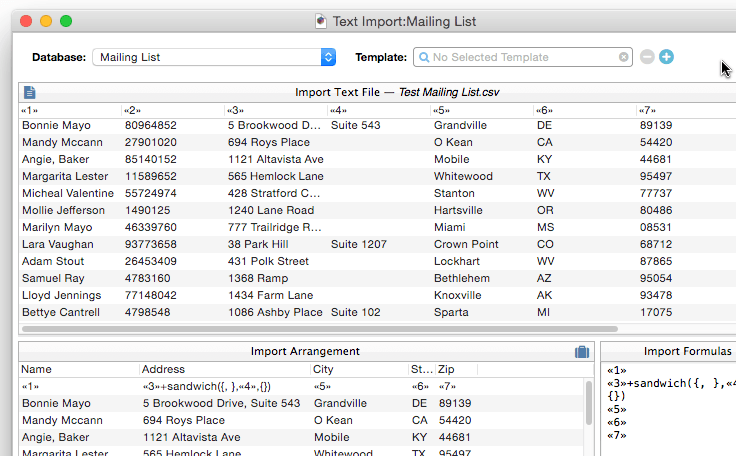
Let’s walk thru the process of importing text step-by-step. We’ll be importing text into this simple mailing list database, which already contains one record:
Opening the Wizard — To start, choose File>Import>Text Import Wizard to open the wizard. The wizard starts out completely empty.
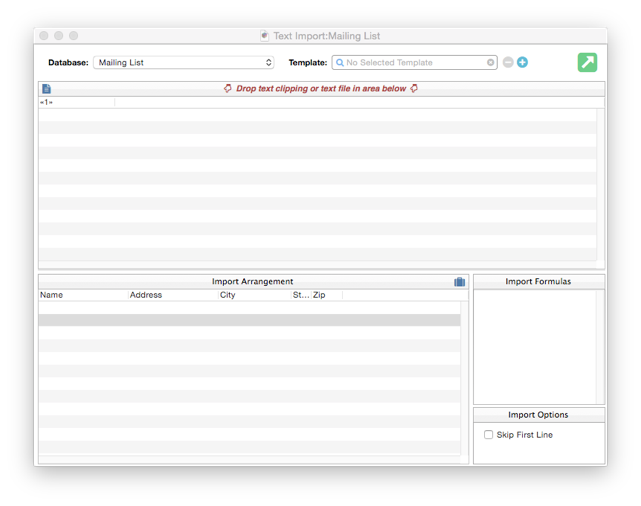
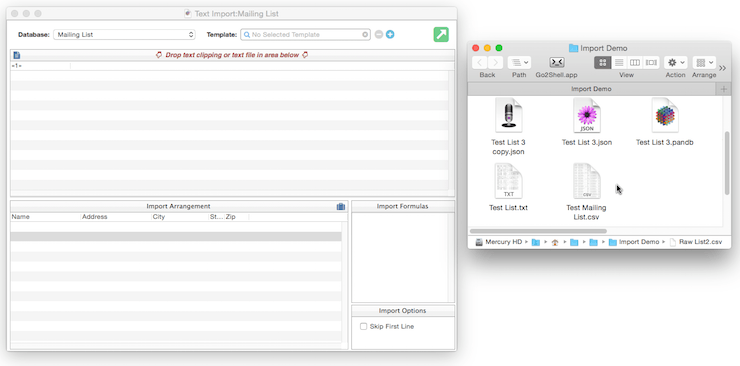
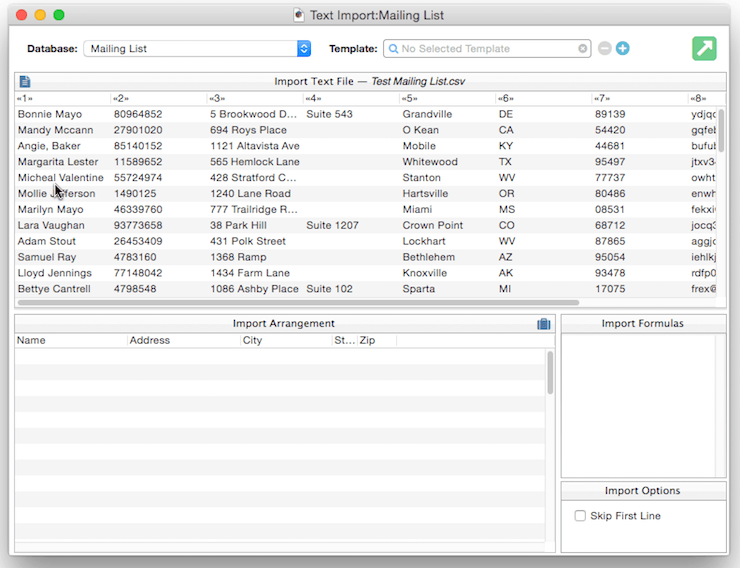
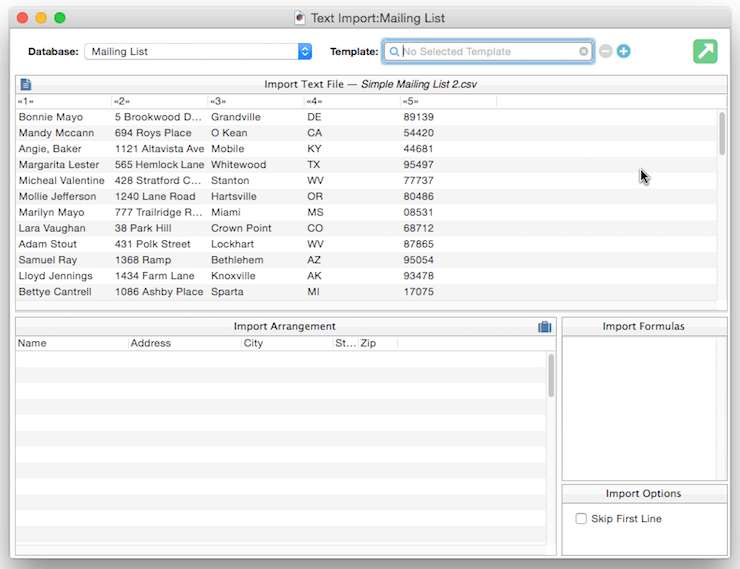
Choosing the Text to Import — The next step is to select the text to import. There are several ways to do this, but if the text is in a file usually the easiest way is to simply drag it from the Finder onto the wizard. Once the file is dropped, a preview of the text will appear in the top half of the wizard.
Another way to select a text file is to click the document icon in the upper left corner of the preview area. This will open a file selection dialog that allows you to choose the text file. This dialog can also be accessed by choosing Import Data>From Text File from the menu.
If the text is in an application that allows dragging, you can simply drag the text directly into the wizard.
If the text you want to import is in the clipboard, choose Import Data>From Clipboard from the menu.
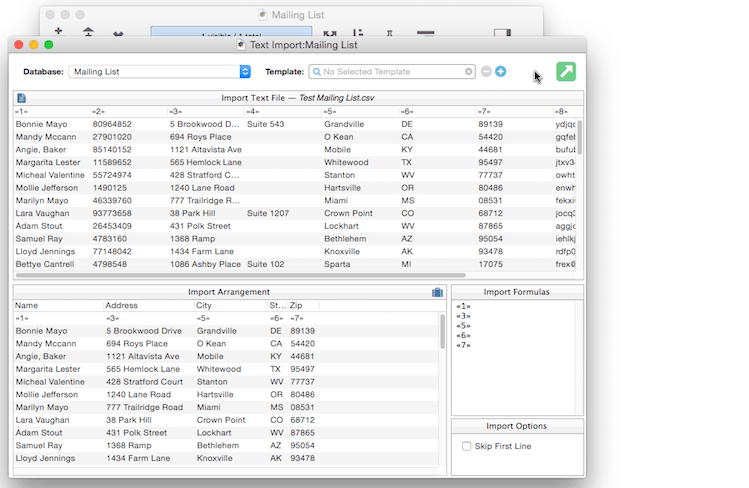
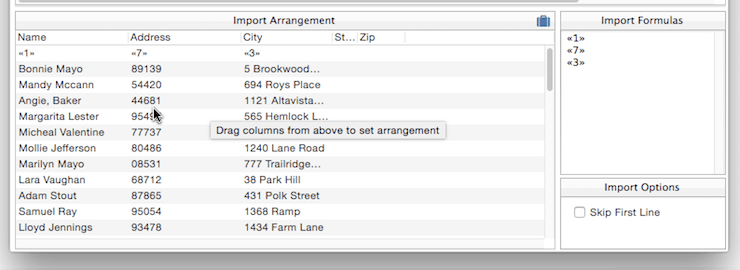
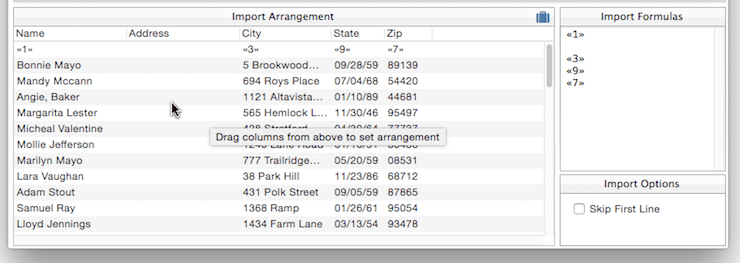
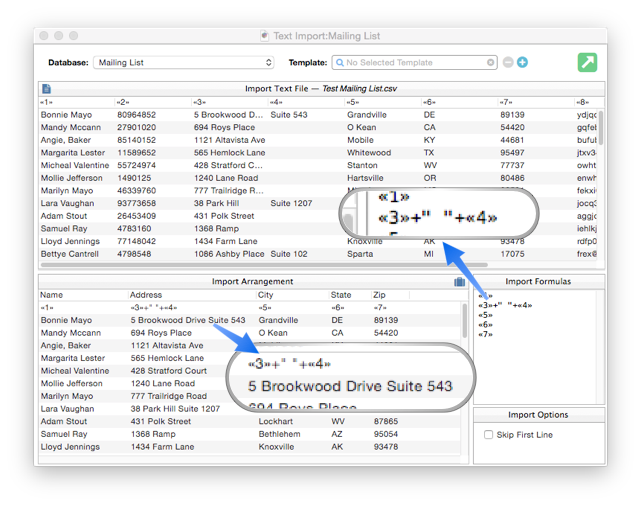
Assigning Text to Database Fields — The text may not be in the same configuration as the database fields, in this case it is quite different. To tell Panorama how the text should flow into fields, drag each column from the text into a field in the bottom section of the wizard.
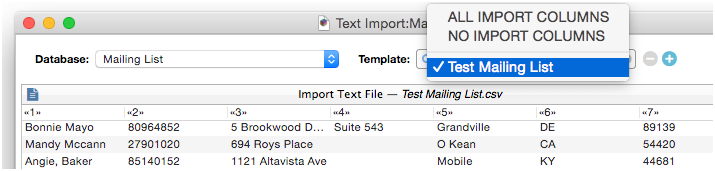
If the text file is already in the exact same arrangement as the database fields, there’s no need to bother with dragging each field individually to set up the arrangement. Simply click on the Template icon and choose ALL IMPORT COLUMNS.
Importing into the Database — The final step is to actually import the text into the database. To do that, click on the Import button in the upper right, and then choose whether you want to append to the existing data, or wipe out the existing data (don’t worry, you can Undo if it doesn’t turn out the way you want).
Modifying the Import Arrangement
If you need to move text to a different database field, just drag it.
Right click if you need to insert, delete, or clear a column in the arrangement.
Import Arrangement Formula
You may have noticed a mysterious column of numbers in the bottom right hand side of the wizard. This is the Import Arrangement Formula.
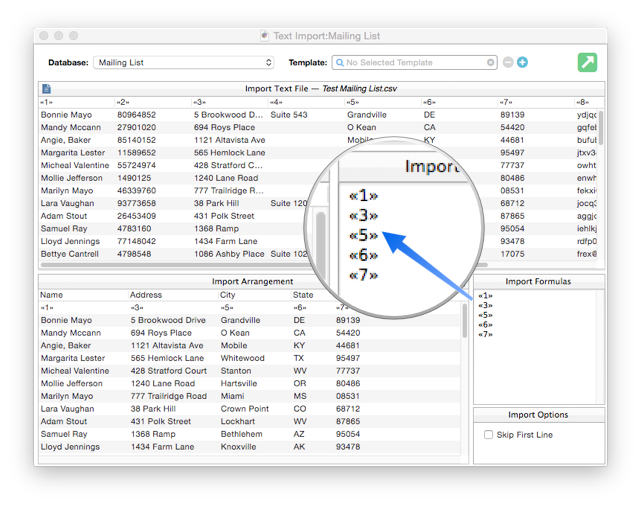
This formula is the underlying code that actually controls how the import is arranged. Each line in the formula corresponds to a field in the database. The «nn» tags in the formula identify the columns from the text being imported — «1», «2», «3» etc. So far we’ve been modifying it by dragging items, but you can also edit this formula directly. Press the Enter key when you’re done editing to update the arrangement.
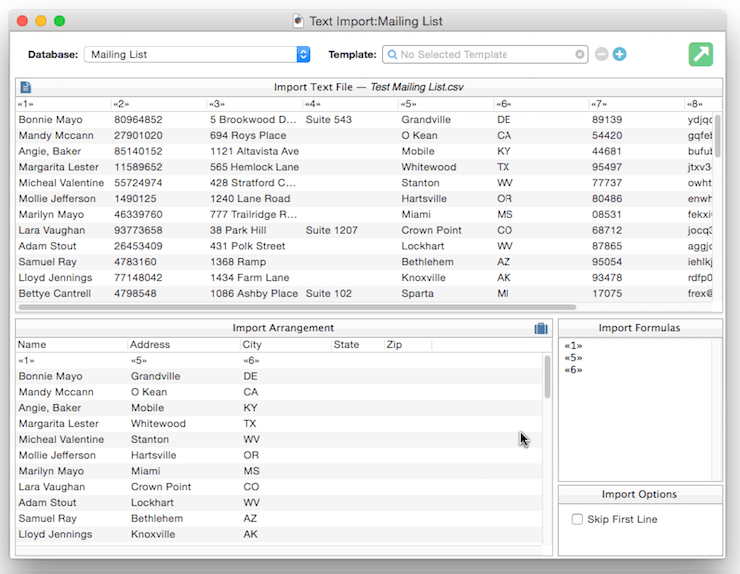
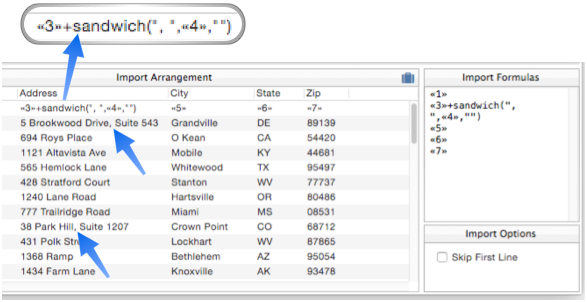
What makes this formula really powerful is that you can use it to combine and split columns from the text file. For example, so far in these examples we’ve been ignoring column «4» in the text file, which contains the suite or room number portion of the address. This data really should be appended to the Address field, and this can be done by modifying the formula.
Any function or operator available in Panorama can be used in the arrangement formula. In this example, the sandwich( function has been used to append the suite/room to the address with a comma, while leaving the comma out if there is no suite or room number. (This example also shows that Panorama shows the formula for each field at the top of the preview area.)
This example shows how formulas can be used to split text into two or more fields. In this case, the database contains separate fields for First and Last names, but the data is combined in the text file. Using the firstword( and lastword( functions the fomula can split the text as it is being imported.

Skip First Line
Sometimes the first line of a text file contains the names of the columns. If you don’t want to include the first line in the imported data, check the Skip First Line option (in the bottom right).
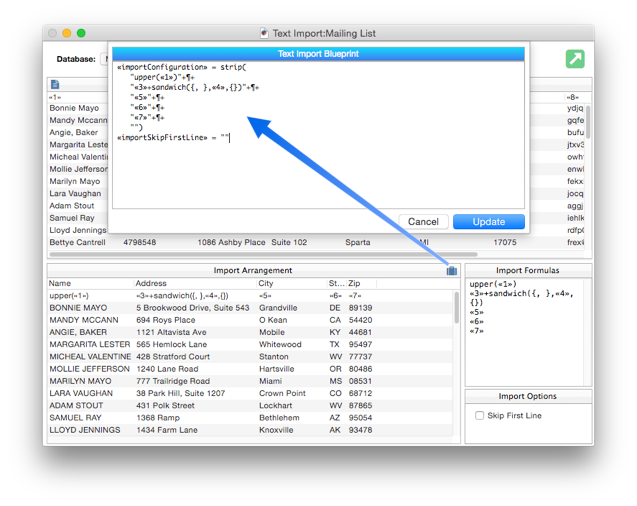
Blueprint
The Text Import Blueprint provides an alternate way to view and modify the import arrangement. Instead of a graphical interface, the blueprint expresses the arrangement as text that can be edited, or copied and used elsewhere. To open the blueprint, click the briefcase icon.
Import Configuration Templates
Once you’ve created a complicated import arrangement, you may want to save it so that you can re-use it later. The wizard allows you to save multiple “templates” that you can recall as needed. Each database starts out with two pre-defined templates: ALL IMPORT COLUMNS and NO IMPORT COLUMNS. To select a template, click on the magnifying glass icon and choose it from the pop-up menu.
Creating a New Template — To create a new template, first set up the input arrangement the way you want. Then press the + button, type in the template name you want, and then press the Return key to save the template and make it active.
Once the template has been saved you can make it active at any time by selecting it from the pop-up menu.
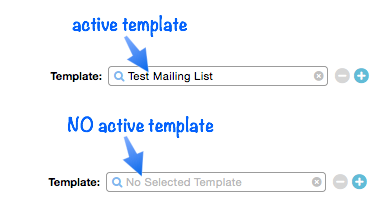
The Active Template — Whenever a template name appears, that template is active.
When a template is active, any changes you make to the arrangement will modify the template. In other words, be careful about making changes to the import arrangement when a template is active – those changes are permanent (and unlike most operations in Panorama, changes to the import arrangement are not undo-able, though they are usually easily reversed).
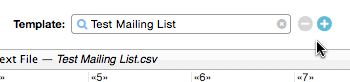
To make the current template inactive, press the x button to the right of the name.
Now you can make changes to the arrangement without affecting any templates.
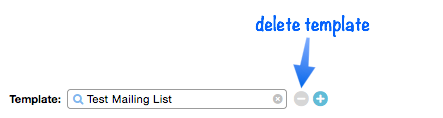
Deleting a Template — To delete a template, first make it active, then press the - button.
Permanently Saving Template Changes — Import templates are stored as part of the database that is being imported into. To make your changes to templates permanent, you must save the database. This will happen automatically if you make other changes to the database, but if you don’t make any other changes, you’ll need to click on the database window and use File>Save to permanently save any changes you’ve made to the templates. You can do this at any time before you close the database.
See Also
- arrayfilter( -- processes each element of a text array or a data array with a formula (see Text Arrays and Data Arrays).
- csvtotsv( -- converts comma separated text into tab separated text.
- Import Database -- importing another database into the current database.
- import( -- returns a line or element of imported data. This function works in conjunction with repetitive operations like importtext, arrayfilter(, characterfilter( etc.
- importcell( -- returns one cell of imported data.
- importdatabase -- imports data from another database into the current database.
- importjson -- imports a JSON array into the current database.
- importjsonline -- imports a JSON record into the current record.
- importline -- imports a line of text into the current record.
- importrawdata -- imports raw binary data into an existing database.
- importtext -- imports text into an existing database.
- newdatabasewithtextfieldnames -- creates a new database from a text file. The text file must contain the field names in the first line.
- newdatabasewithtextfile -- creates a new database from a plain text file. The fields will be named A, B, C, etc.
- partialdatabaseupdate -- updates one or more components of an existing database.
- seq( -- returns sequential numbers (1, 2, 3, etc.).
- tsvtocsv( -- converts tab separated text into comma separated text.
- tsvtojson( -- converts tab separated text into JSON formatted text.
History
| Version | Status | Notes |
| 10.0 | New | New in this version. |