This dialog, in the Fields menu (and also accessible from the Morph tool in the toolbar), is the workhorse of data manipulation. Using this dialog you can quickly modify all of the visible cells in the current field. (If you want to modify all the fields at once, use the Morph All Fields Dialog).
There are three components to a manipulation — the data source, the manipulations, and the destination. The destination is the current field when the dialog is opened. Any data already in the destination field will be overwritten when you press the Morph button.
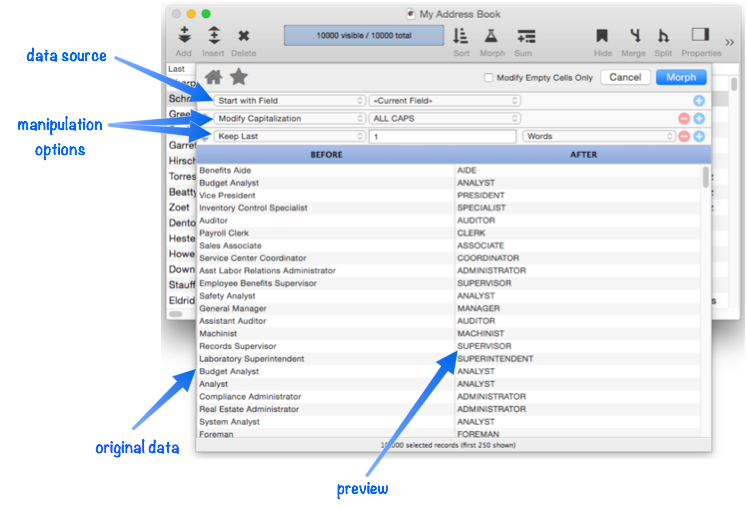
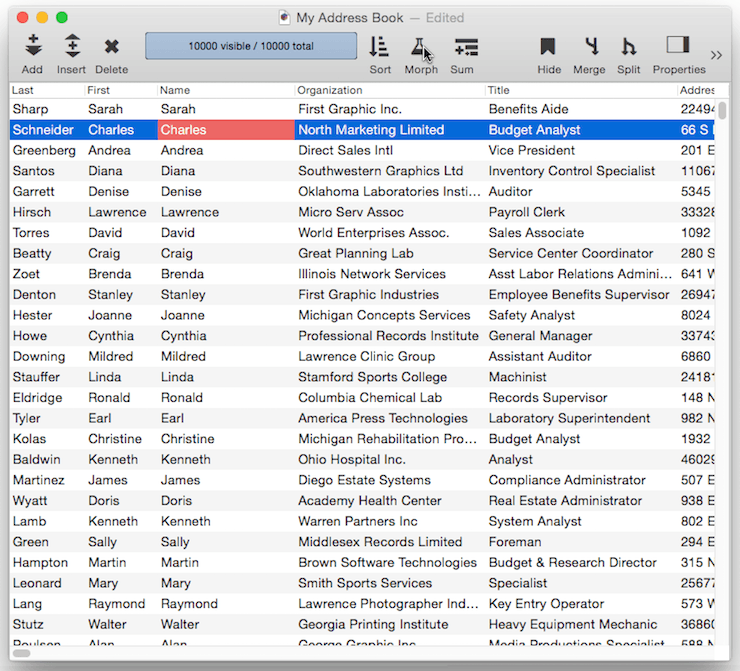
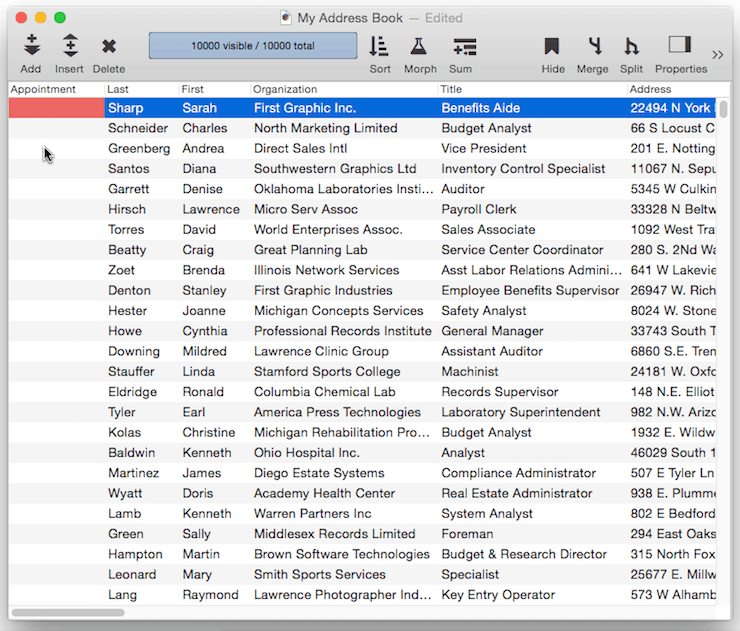
Before diving into the details, let’s take a quick look at this dialog in action. I’ll use it to extract the essential information from the Title field in this address book database.
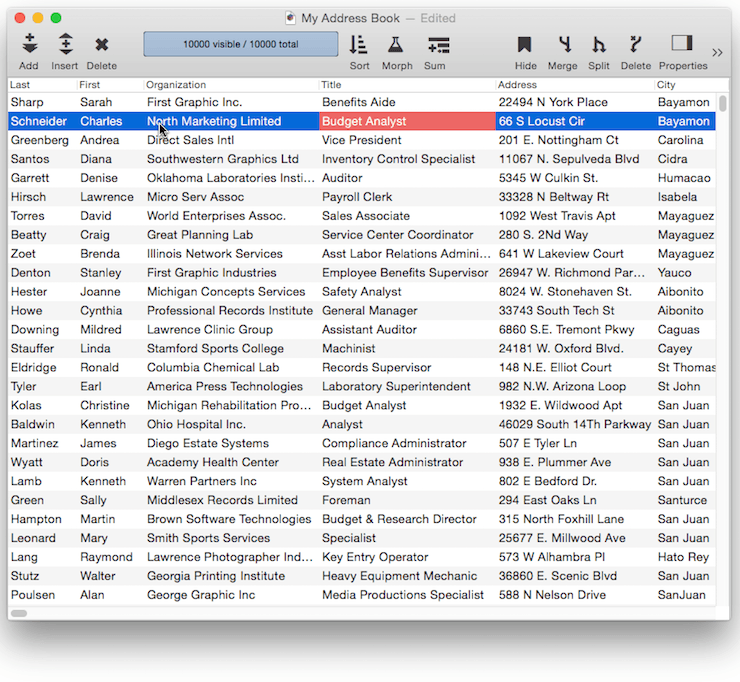
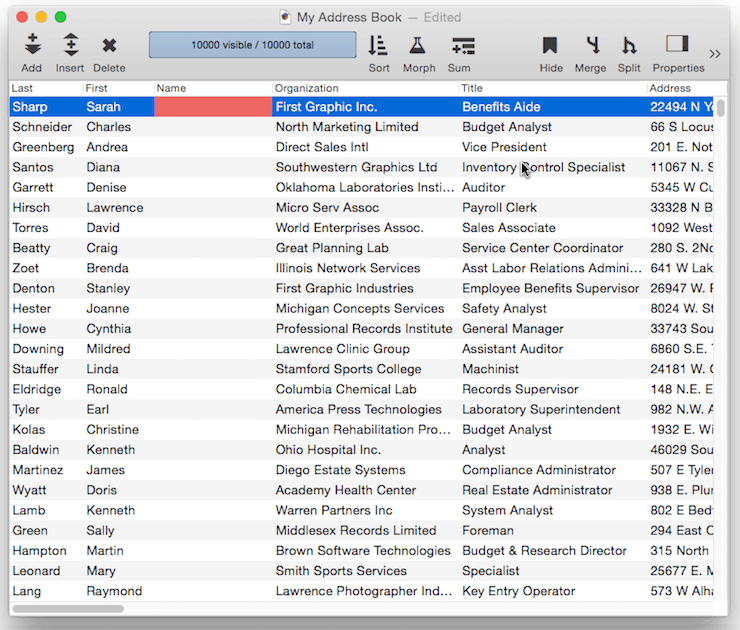
In just about 20 seconds, all 10,000 records in this field are transformed, extracting just the last word of the title, and capitalizing it. (If you make a mistake, don’t fret, just Undo.)
By the way, if you only want to modify the data in a subset of the database, simply select that subset before opening the dialog (see Searching). The dialog will only modify selected (visible) data.
As you can see, there are a wide variety of morphing options available, and if the transformation you need isn’t available, you can use a formula. You can even use regular expressions!
To learn about the specific morphing options available, see these related topics:
Specifying the Data Source
The first step in performing a manipulation is specifying a data source. There are five data source options: Field, Fixed Value (Text/Number/Date), Sequence, Group Sequence, and Formula. Use the pop-up menu to choose the source you want to use:
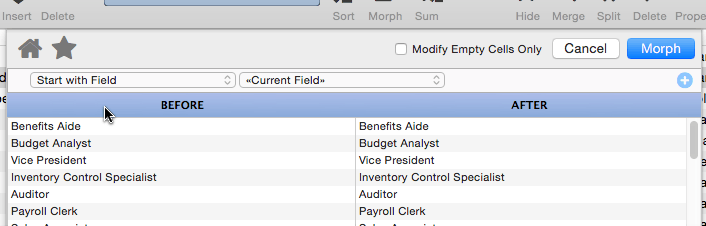
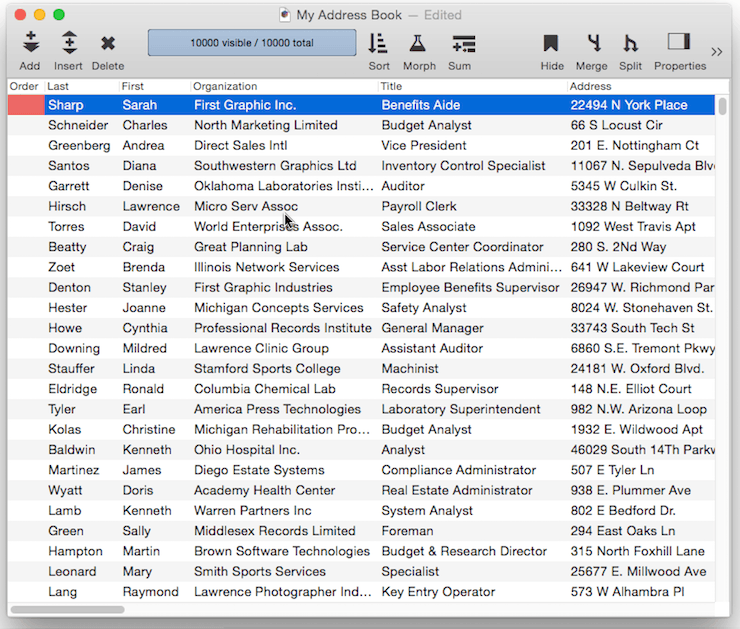
Start with Field — You’ll usually want to manipulate data that is in an existing field in the database. Simply choose the field you want to manipulate from the pop-up menu. The simplest manipulation you can perform is to copy the data from one existing field to another. To illustrate this I’ll copy the data in this database from the First field to the new Name field I have just created. I start by clicking on the destination field, Name, then open the dialog and select the field I want to copy from.
Of course I’ll probably want to take this a step further and copy both the first and last names.
Start with Fixed Value (Text/Number/Date) — Choose this option if you want to fill all of the selected cells in the current field with the same value. For example, suppose your company is going international, so you add a new Country field to the database. All of the existing data is domestic, so you want to set the current data to United States. The Morph Field dialog can easily take care of this.
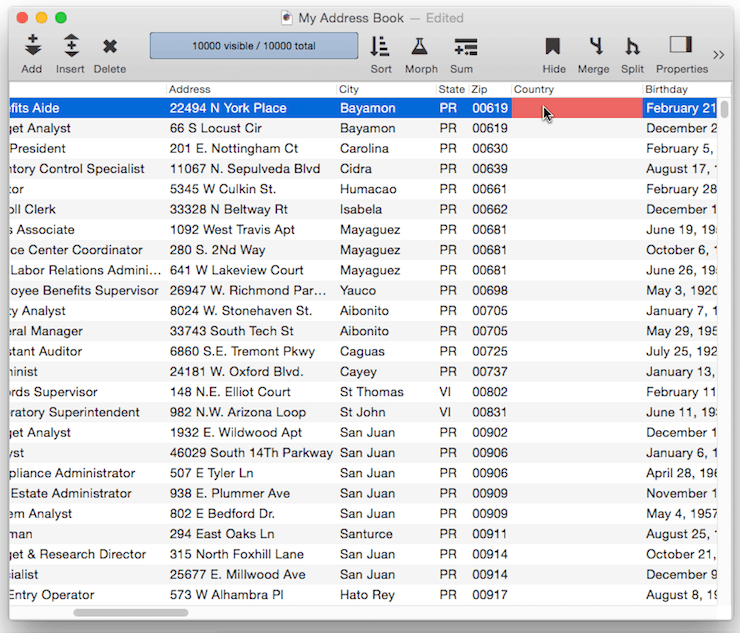
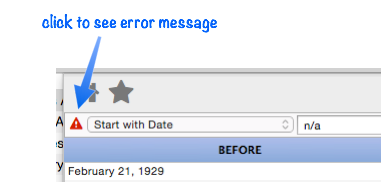
The new data must be compatible with the field that is being filled. For example, you cannot fill a date field with n/a because n/a is not a date value. Panorama will warn you if you attempt to fill a field with an incompatible value. Click on the red triangle to find out more information about the problem (in this case, Illegal Date).
Start with Sequence — Choose this option if you want to fill the field with a incrementing or decrementing sequence, for example 1, 2, 3, 4, … 100, 110, 120, … 99, 98, 97, etc. When using this option you specify the starting value and the amount to increase or decrease for each record.
Start with Group Sequence — This option is identical to the Start with Sequence, except for the fact that the sequence will restart whenever a new summary group starts (see Summary Records).
Sequencing a Date Field — If the destination is a date field, the start value must be a valid date (Panorama’s “smart dates” are allowed, so you can specify today, yesterday, tomorrow, monday, tue, next tue, etc. This example will generate a sequence every day starting with May 1st.
When manipulating a date field, an extra option appears in the Data Source pop-up menu — Start with Sequence by Month. This option allows date sequences to be generated by months, quarters or years. To generate the sequence by quarter, change the 1 to 3, for by year, change to 12.
Start with Formula — If none of the other options fit the bill, you can use a formula as the starting point for your manipulation. Once you learn how to use them, formulas give you incredible power for any kind of manipulation you want to do. Let’s look at a simple example to see how a formula can be used in this dialog. The formula below combines the first and last names into a combined Name field.
If you’ve used formulas in a programming language or spreadsheet before, this may look natural to you. Otherwise, it probably just looks like a geeky mystery. Fortunately many common manipulations can be performed simply by selecting from pop-up menus. In fact, we earlier showed you another way to copy over first and last name fields simply with pop-up menus, no need for a custom formula. But when you need the power of a custom formula, it’s available at your fingertips.
Morphing the Data
Unless you’re doing something really simple like copying a field or filling with a fixed value, the second step is to add one or more morph operations to your data source. To add an operation, press the + button on the far right hand side of the dialog.
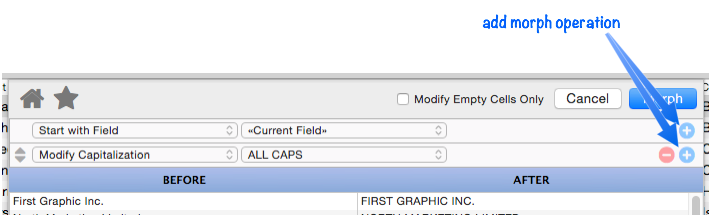
There are many standard morph operations you can choose from. Use the pop-up menu to pick the operation you want to use. In most cases there will be one or two options you can specify to control the manipulation, either with a pop- up menu or by typing in an option.
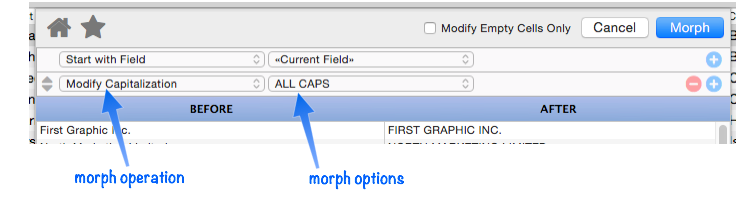
You can add up to seven manipulations, just keep pressing the + button. When there are multiple manipulations they are performed in order from top to bottom. In some cases the order of the manipulations may be important. You can insert a new manipulation in any spot by pressing the appropriate + button, the new manipulation will be inserted just below the button you pressed. You can also re-arrange the order of the manipulations by dragging on the arrows on the left hand side. Keep your eye on the preview area to make sure that the manipulations are doing what you want them to.
To learn about the specific options available, see these related topics:
The Modify Empty Cells Only Option
The Morph Field dialog normally modifies all selected cells when you press the Morph button. However, if the Modify Empty Cells Only box is checked, only empty cells will be modified. Any cells that already contain a value will not be changed. In the example below all empty cells are changed to n/a, while cells that already contain memos are left untouched.
See Also
- Duplicate Removal with Unpropagate -- using the unpropate command to remove duplicate data.
- Morph All Fields Dialog -- morphing the contents of the entire database.
- Morph Date Field Operations -- date morphing operations.
- Morph Field Favorites -- saving and recalling favorite data morphing operations.
- Morph Numeric Field Operations -- numeric data morphing operations.
- Morph Text Field Operations -- text data morphing operations.
- morphalldialog -- opens the standard MorphAll dialog.
- morphdialog -- opens the standard Morph dialog.
- Propagate & Unpropagate -- propagating/unpropagating data within a column.
- Shifting Data Left & Right -- sliding data left and right.
- slidedata -- slides the columns at and to the right of the current column.
History
| Version | Status | Notes |
| 10.0 | Updated | Carried over from Panorama 6.0, but with a new user interface, and with one-click access from the tool bar. |