Previous: 121: Extra Credit: Importing and Cleaning Up More Names
So far you’ve only used Panorama’s data sheet, which displays data in a fixed row and column format much like a spreadsheet. The data sheet is simple and powerful, but for many applications a more “free form” custom layout is required. To create a custom, free form format, you’ll use Panorama’s form feature. A form is like a piece of paper that allows you to design any arrangement you want – labels, invoices, statements, whatever you need. A database can contain multiple forms, each with its own custom layout. Before looking at specific applications of forms, let me give you a quick tour of how form layout works.
Creating a New Form
To create a new form, choose View>New Form. (The View Menu is also used to access forms later.)
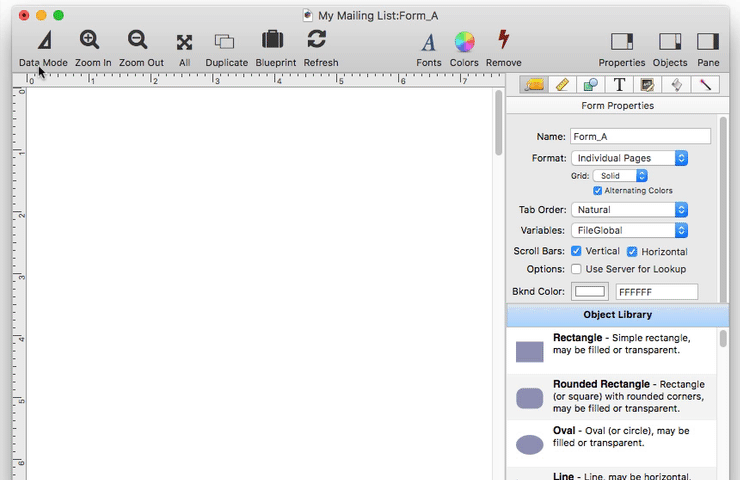
When a form is first created, it starts out in graphics mode.
Graphics Mode vs. Data Mode
Panorama forms operate in two distinct modes – data mode and graphics mode.
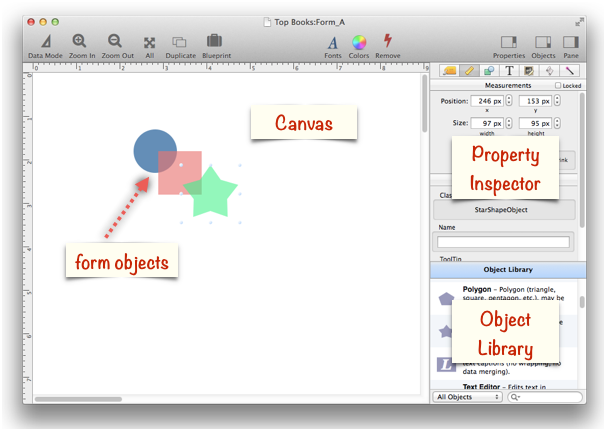
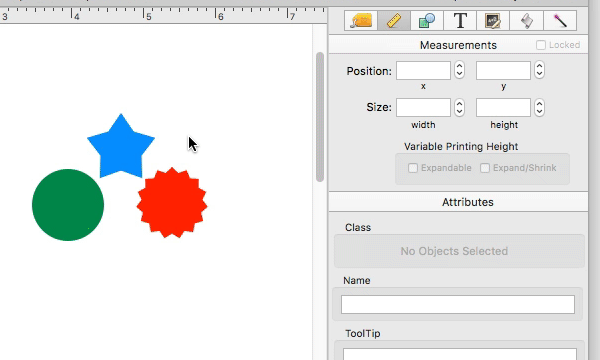
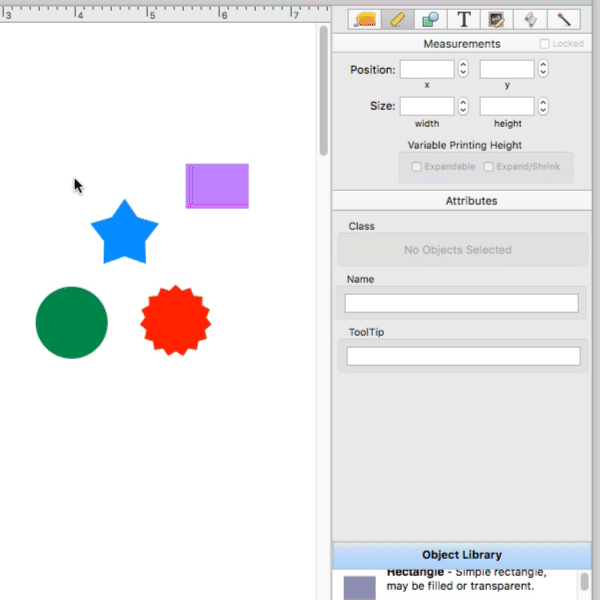
Graphics mode works like an electronic drafting table. In this mode you design the form by drawing lines, boxes, and other graphic elements. This mode is very similar to many drawing and page layout programs. Graphic design mode is easily recognized by the rulers that appear at the top and left edges of the window, and the inspection palette that appears on the right side of the window.
In data mode you can view and display data, and navigate through the database.
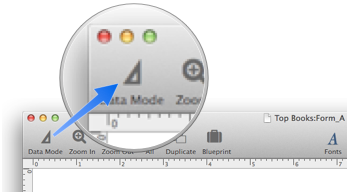
To switch between data access and graphic design modes, click on the leftmost tool in the tool palette. Each click on this tool toggles the window between the two modes.
As the mode changes, all of the menus and tools in the toolbar change as well. In graphics mode, these tools and menus perform graphical operations, while in data mode the tools perform database operations like sorting and selecting data.
Creating Graphic Objects
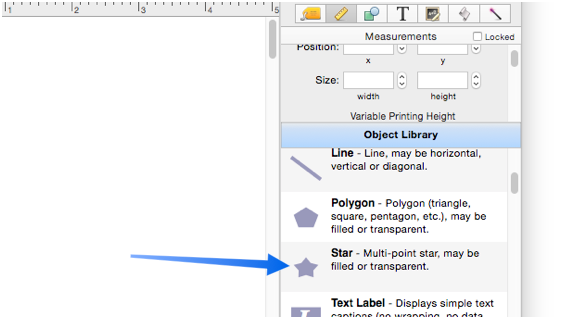
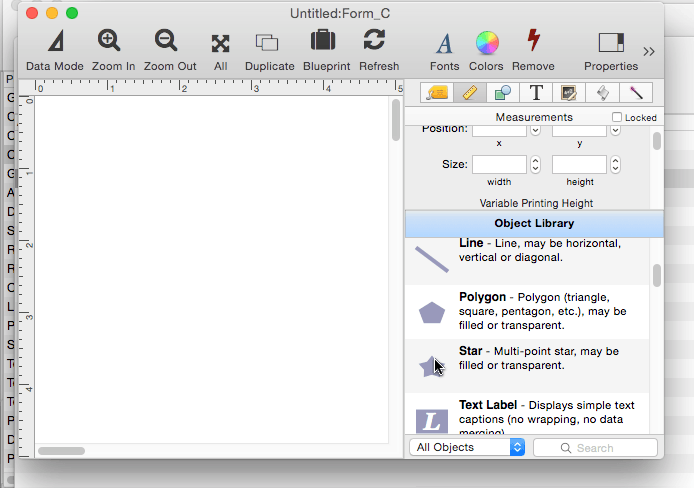
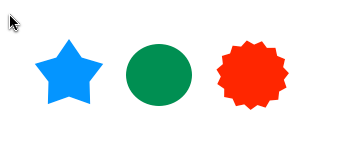
To design a form, you add graphic objects to the form and arrange them. To create a new form object, first locate the type of object you want to create in the Object Library. In this example, we’ll create a new star object.
Now drag the object from the library onto the position where you want it placed in the form.
Selecting Graphic Objects
If you want to modify an object (change its size, color, pattern, etc.) you must select the object. Selecting an object (or objects) tells Panorama that you want to work with that object.
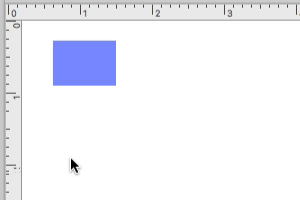
Selecting a Single Object – To select a single object, click on it. To unselect the object, click outside of it.

When an object is selected, handles appear on the corners and edges of the object, as shown above. The handles let you know the object is selected and waiting for you to do something with it.
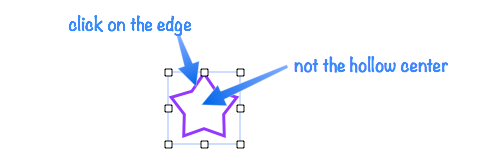
If an object is hollow, you must click on the border of the object to select it. Objects with thin borders may be difficult to click on. If you find it too difficult, remember that you can also select an object by dragging a selection marquee around it (see the next section).
It’s possible for one object to be hidden behind another object, making it impossible to click on. See Selecting a Completely Hidden Object on the page Selecting Form Objects to learn how to select hidden objects.
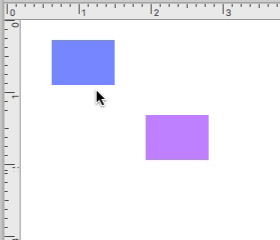
Selecting Multiple Objects at Once — Sometimes you may want to modify several objects at a time. To do that, you need to select the objects first. One way to select multiple objects is to hold down the Shift key and click on each object.
Don’t forget to hold down the Shift key, or you’ll only wind up with one selected object.
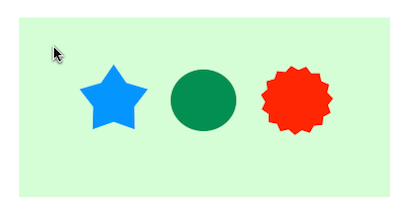
Another way to select multiple objects is by dragging a selection marquee around the objects. Start by clicking on an empty spot on the form, then drag across the form until all of the objects you want are selected, then release the mouse.
Advanced Tip: To drag a marquee, you normally need to start on an empty spot on the form. If an empty spot isn’t available, just hold down the Space Bar and drag the marquee. When the Space Bar is held down, you can’t select objects by clicking them. Instead, clicking starts a selection marquee, even if you click on an object.
In this example there is a large light green rectangle behind the objects I want to select. By holding down the Space Bar, I can select the smaller objects while leaving the background rectangle unselected. (In the movie below you can see that the cursor arrow turns into a cross when the Space Bar is pressed.)
Repositioning Objects
To move an object (or objects) to a new position, simply select them and drag them to the new position.
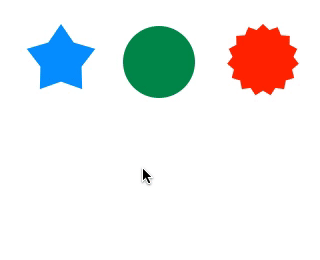
You can make fine adjustments by selecting one or more objects and then pressing the arrow keys to “nudge” the object(s). In this example I clicked on the blue star to select it, then pressed the down arrow key 15 times to nudge it down 15 points (about 1/4 inch).

You can also make precise adjustments with the Measurements inspector panel.
Resizing an Object
To change the height and/or width of an object, first select it, then click on one of the eight “handles” around the edge of the object and drag to adjust the object size.
After you finish dragging, you can use the keyboard arrow keys to make further fine adjustments. When the last mouse click was on an object handle, the arrow keys nudge only that handle instead of nudging the entire object’s position. Suppose I want to align the corners of two objects. This example shows how I can do that by first dragging to the approximate size, then using the arrow keys to nudge the object corner into final position.
Sometimes it can be tricky to click on the small handles around the edge of the object. When you press the S key, Panorama goes into a special “sizing” mode. In that mode, the handles around the edges of the object are invisibly enlarged. They don’t look any larger, but you’ll find that clicking anywhere on the object causes it to resize, instead of drag. This makes it easy to be fast and sloppy when resizing.
Smart Resize is automatically active whenever you select several objects and then change the size of one of them. Smart resize adjusts the sizes and locations of the other selected objects to match the change.
For instance, suppose you have a matrix of boxes, and you want to increase the width of one column. Start by selecting all of the objects. Then grab one of the handles in the column you want to make wider and drag it to expand the box. As you drag, Panorama will automatically increase the width of all the other boxes in the same column. It will also shift the boxes on the right to make room for the expansion.
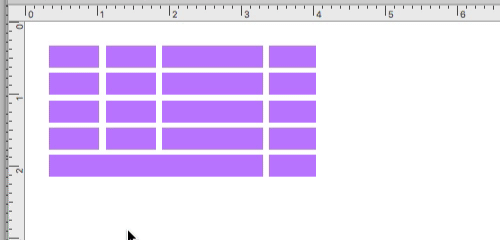
As shown at the end of the example, Smart resize also works vertically. For more information about this feature, see Smart Resize.
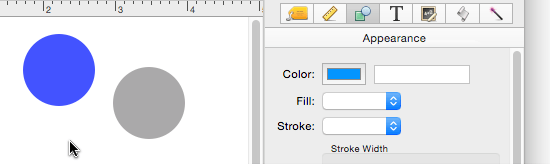
Object Appearance Options
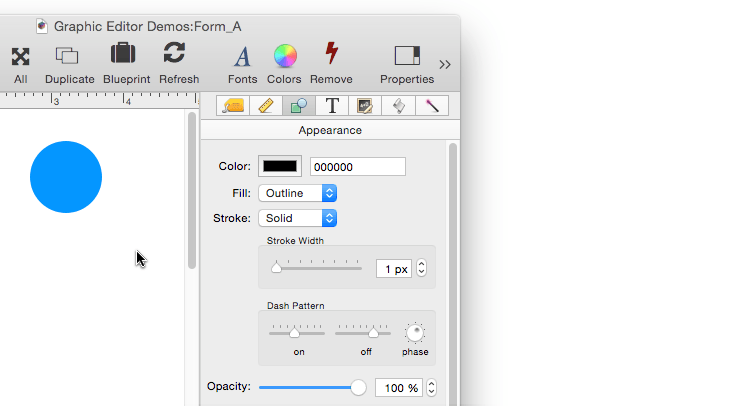
You’ll use the Appearance panel in the Object Inspector Panel to change the color, fill, stroke, opacity and drop shadow attributes of selected objects (see Selecting Form Objects).
Object Color — There are three ways to set the color of selected objects: the Color tool, the Color swatch, and the Color hex editor.
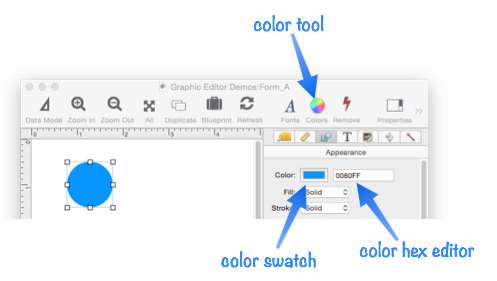
Clicking either the color tool or the color swatch opens the familiar standard system color picker.
Using the color hex editor, you can directly type in a color in standard RRGGBB web format. (If you are not familiar with this format, see the Web Colors Wikipedia entry for more information.) Press the Return key when you have finished editing a color.
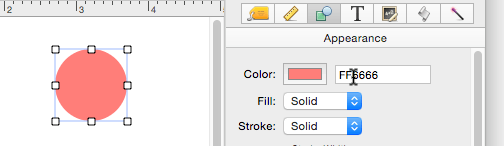
You can use the color hex editor to copy the color from one object to another, so that they exactly match. Start by clicking on the first object, then select and copy the RRGGBB color. Then click on the second object and paste the color value into the color hex editor. The pop-up that appears when copying and pasting is not part of Panorama, it is a utility called PopClip that is running on our computer.
These examples have shown how to change the color for a single object, but you can select multiple objects and change them all to the same color in one fell swoop.
Not all objects allow the color to be modified. Most do, but user interface widgets (buttons, pop-up menus, sliders, etc.) have fixed colors that cannot be modified.
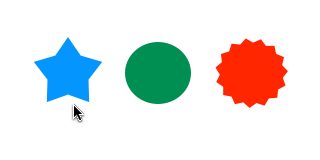
Object Fill — There are three choices for how an object is filled: Solid, Outline, and Hollow. In this illustration the background color has been set to gray so that you can see the difference between Outline and Hollow.
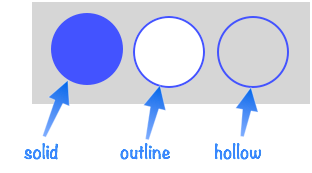
When an object is hollow, objects that are behind it “peek” thru, like seeing something behind a donut hole.
To learn about other object appearance options, including the stroke, transparency, and drop shadows, see Form Object Appearance.
Next: 202: Forms: Working with Data
See Also
- Aligning Objects -- so that two or more object edges are made even with each other.
- Creating a New Form -- creating a new empty form, or a duplicate of an existing form.
- Creating a New Form Object -- with the Object Library.
- Duplicating Objects -- to make copies of one or more objects.
- Form Object Appearance -- changing the color, fill, stroke, opacity and drop shadow attributes of selected objects.
- Form Object Blueprint -- display and edit raw object specifications
- Forms -- display data with a customizable graphic layout.
- Graphics Mode -- is used to edit the graphic design of a form.
- Grouping Objects -- allows you to manipulate multiple objects as if they were a single object.
- Line Object -- draws a line within a form.
- Object Inspector Panel -- is used to view and modify the attributes of selected objects in a form.
- Object Library -- is used to create new objects in a form.
- Oval Object -- draws an oval or circle within a form.
- Polygon Object -- draws a polygon within a form.
- Rectangle Object -- draws a rectangle or square within a form.
- Rounded Rectangle Object -- draws a rectangle with round corners within a form.
- Selecting Form Objects -- so that they can be modified.
- Smart Resize -- adjusts the sizes and locations of the other selected objects to match the change of one object.
- Star Object -- draws a star within a form.
- View Menu -- accessing and creating the data sheet, forms and procedures.
History
| Version | Status | Notes |
| 10.0 | Updated | Carried over from Panorama 6.0, with updates. |