Panorama has many different types of report tiles (see Report Tile Object). Each type of tile has its own rules that tell Panorama where the tile should be printed on the page. For example, a header tile is always printed at the top of the page. You can make the header bigger or smaller, add fancy graphics, even move it to a different spot in the form window — but no matter what you do, the contents of the header tile will always print at the top of each page.
Panorama’s basic rules for printing tiles are simple. First it prints the header (if any) at the top of the page, then the footer at the bottom of the page. The space left in the middle is available for data. Panorama starts in the upper left hand corner and prints a column of data—one data tile at a time. Once Panorama reaches the bottom, it checks to see if it should print another column. If another column is needed, Panorama goes back to the top and prints it.
More complex reports can have variations on this basic theme. Panorama has many different specialized types of tiles for automatically creating almost any report format. But the basic idea is the same — each tile slides into place on the page according to its rules. A form should contain no more than one tile of each type. If a form contains two header tiles, for example, Panorama will not know which one to print at the top of the page. If you attempt to print using a form that has duplicate tiles, Panorama will display an alert.
Data Tiles
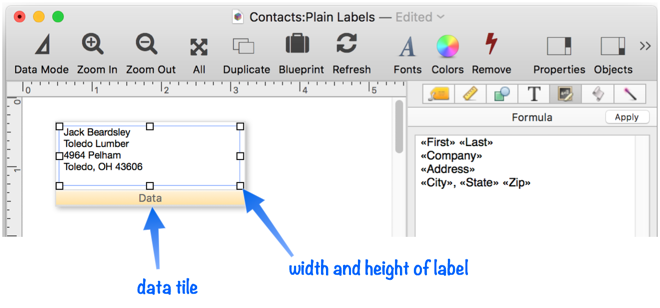
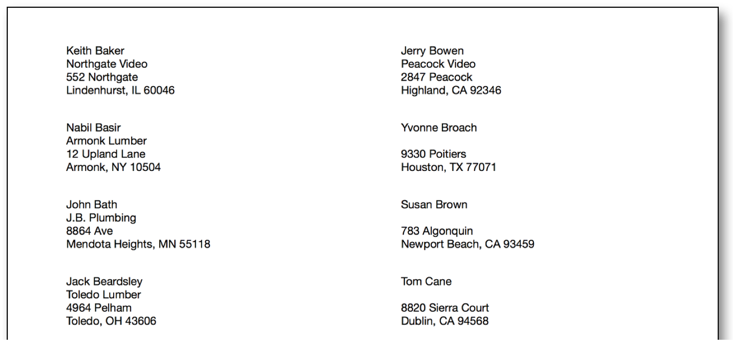
The data tile is the cornerstone of every custom report, it is the one tile that is required in any custom report form. Because the data tile is used to print each data record, the size and shape of the data tile has a major impact on the overall look of the report. For instance, if you want to print labels, the data tile should be the same size and shape as a single label plus the gaps between the labels, like this.
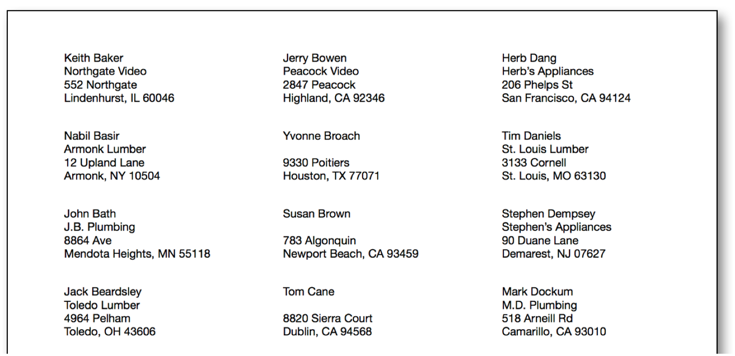
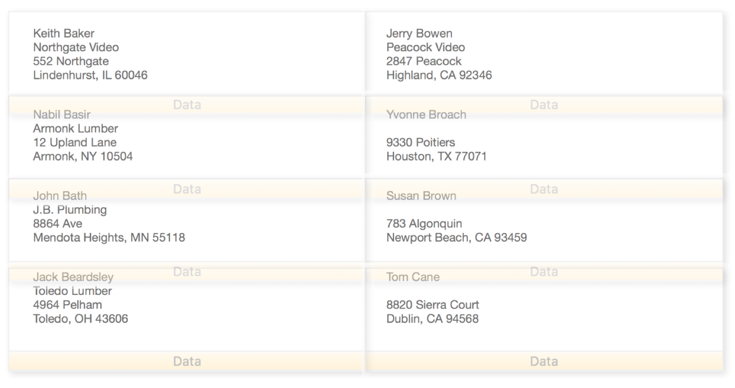
When you print this form it will look like this.
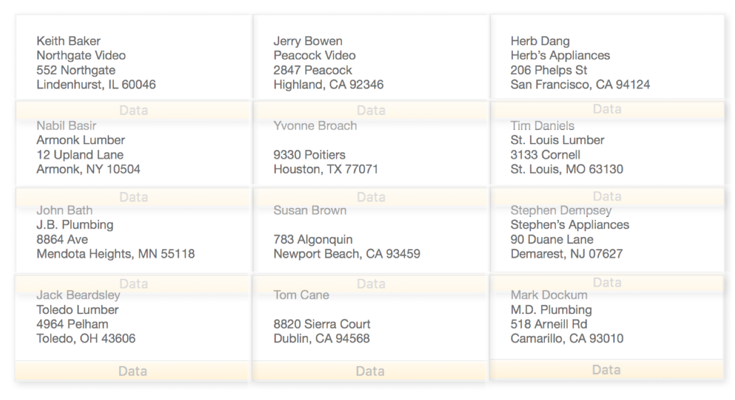
The illustration below shows how Panorama stacked the tiles together to create the report shown above. In this illustration, the tiles, which are actually invisible, are shown in light blue. As you can see, Panorama slides the tile surfaces together as closely as possible. (The tile drag bars are not counted as part of the tile when the report is printed.)
Simply changing the size or shape of the data tile can completely change the printed report.
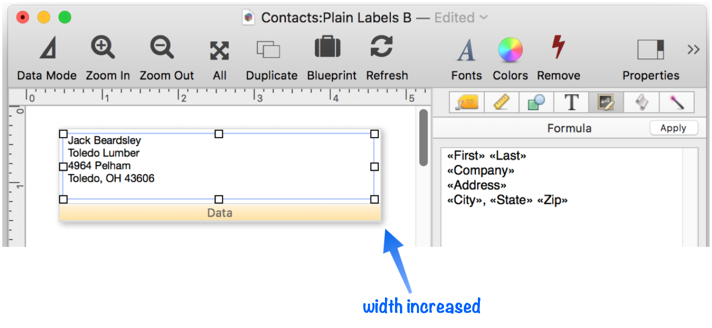
The only change is that the data tile (and the text object on it) has been made wider. Now Panorama can only stack two data tiles side by side.
Once again here is an illustration that shows how Panorama fits the invisible tiles together to make the finished report.
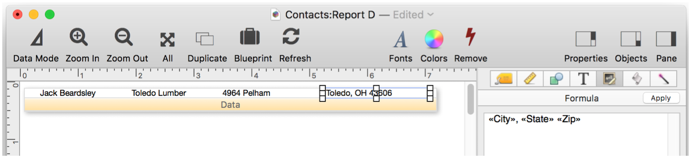
To make a columnar report with one line per record, make the data tile as wide as the page and one line high, like this. (Any easy way to create a report like this is to use the Automatic Report Construction wizard.)
Here’s the finished report printed from this tile.
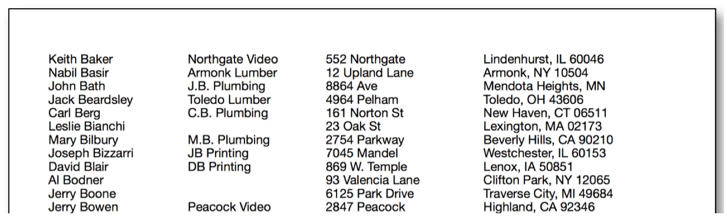
This data tile is too wide to stack side-by-side, so Panorama simply stacks them vertically.
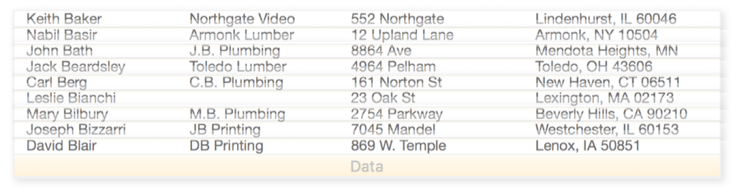
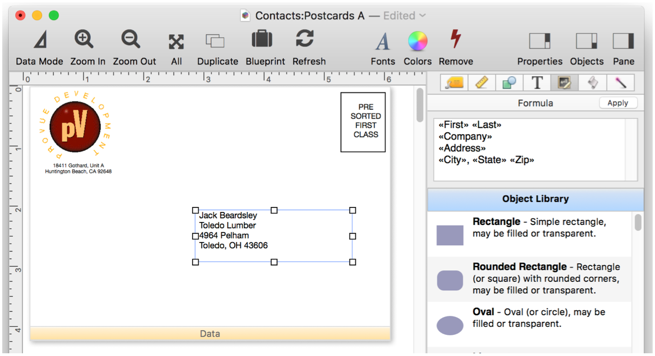
At the other extreme you can make the data tile very large so that only one or two records will be printed per page. This form is designed to print two postcards per page.
Here’s what the postcards look like when printed on an 8.5 x 11 inch page.
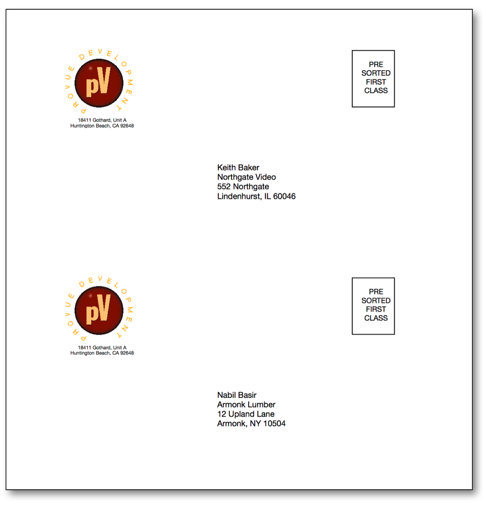
Just as with the other reports, Panorama prints this one by stacking the data tiles as close together as possible.
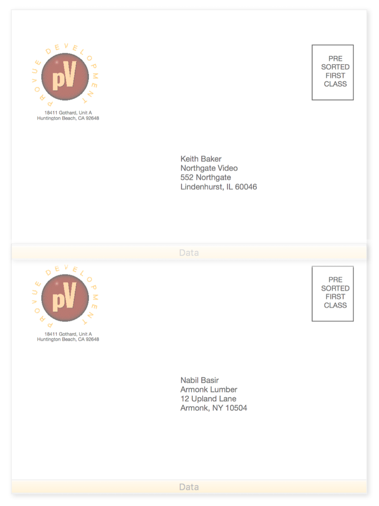
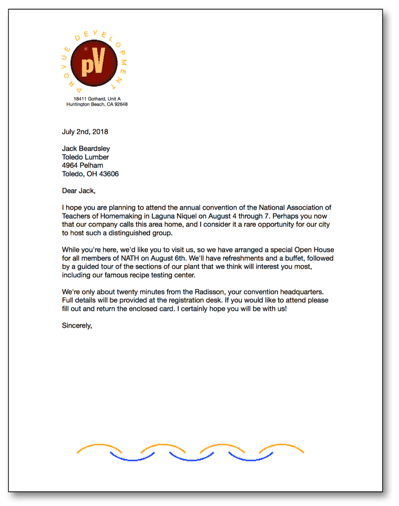
If the data tile is large enough Panorama will only print one record per page. Common applications include invoices, statements, tax returns, and form letters like the one shown here.
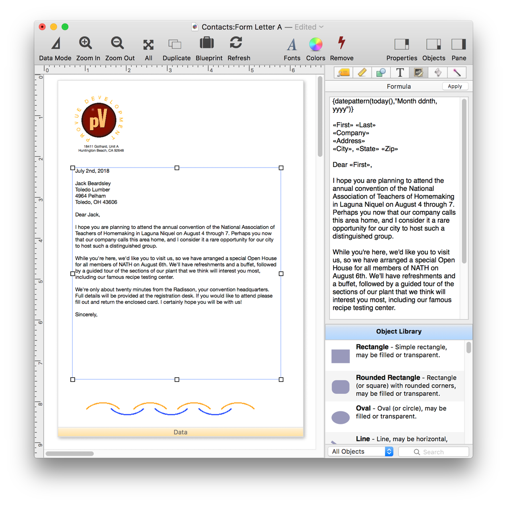
Here’s the printed result of this form. Panorama will print one complete page for each selected record in the database, each with a customized letter. (Or, if you wish, you can use the Print One Record command to print a single letter based on the current record).
See Also
- Automatic Mailing Label Construction -- creates a mailing label.
- Automatic Report Construction -- creates a tabular report with columns of data.
- Custom Report Headers and Footers -- setting up custom report headers and footers.
- Custom Report Margins -- specifying the top, left, right and bottom margins of a custom report.
- Printing Multiple Column Reports -- printing reports with two, three or more columns (for example mailing labels).
- Printing Multiple Page Records -- Panorama can print up to 9 pages for each record in a custom report (for example multi page invoices, etc.)
- Printing Summary Information -- printing a database that has been organized into categories with summary records.
- Report Tile Object -- component for assembling a custom report.
- Reports -- Panorama has a very flexible system for printing custom reports, labels and forms.
- setreportcolumns -- allows a procedure to control the number of columns of a report, and the direction (across or down).
- Variable Height Records -- custom reports with different heights for each record.
- View-As-List Forms -- displaying a custom data layout as a continuous sheet.
History
| Version | Status | Notes |
| 10.0 | Updated | Carried over from Panorama 6.0, with some updates. |