This page describes how to set up a Matrix Object that scrolls horizontally as well as vertically, and that has a header that scrolls with the content in the matrix. Before getting into the details, here is a demo of the finished result.
Matrix Horizontal Scrolling
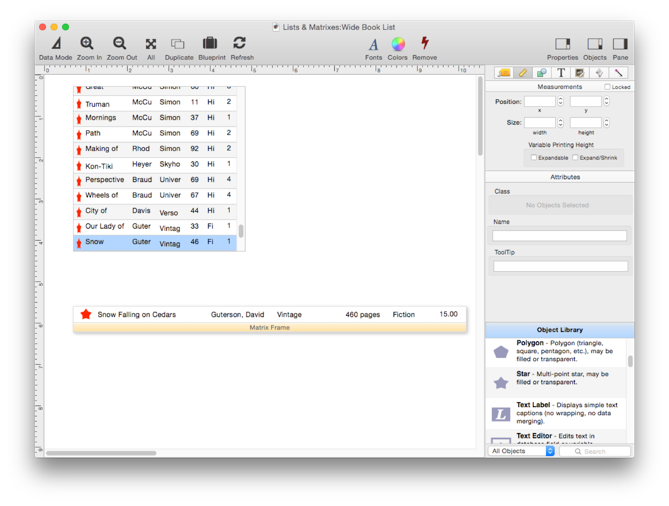
As described on the Matrix Geometry page, Panorama scales the objects in the matrix frame to fit inside the items in the matrix. If the matrix frame is wider than the matrix object, everything will be “smushed” to fit into the item. In the image below, you can clearly see how the star is distorted to fit. The dimensions of the text display objects are also distorted, but the text itself isn’t (it is simply cut off).
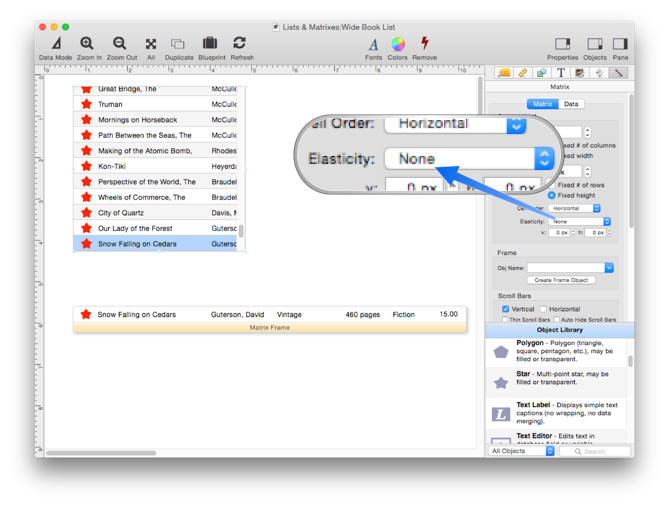
In a situation like this, you would probably prefer that the objects in the frame not be distorted, but instead have them scroll horizontally within the matrix. The first step is to turn off the scaling, which is done by setting the Elasticity to None. Now the contents of the frame aren’t “smushed” any more – instead they are cut off.
The final step is to enable the Horizontal scroll bar.
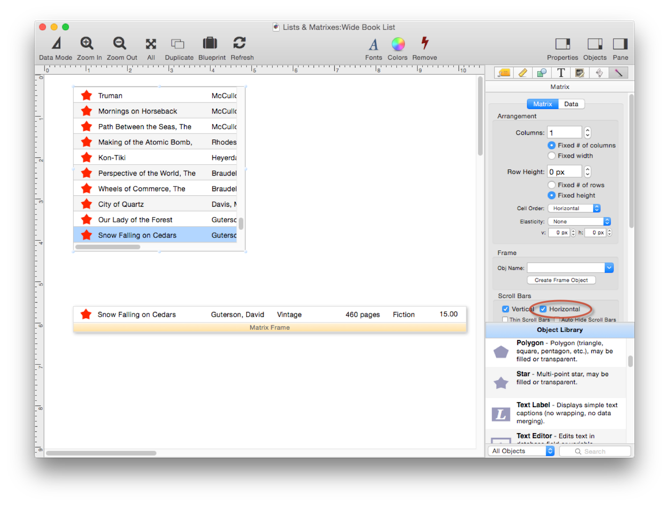
You can switch into data mode to try out the horizontal scroll bar.

Matrix Header
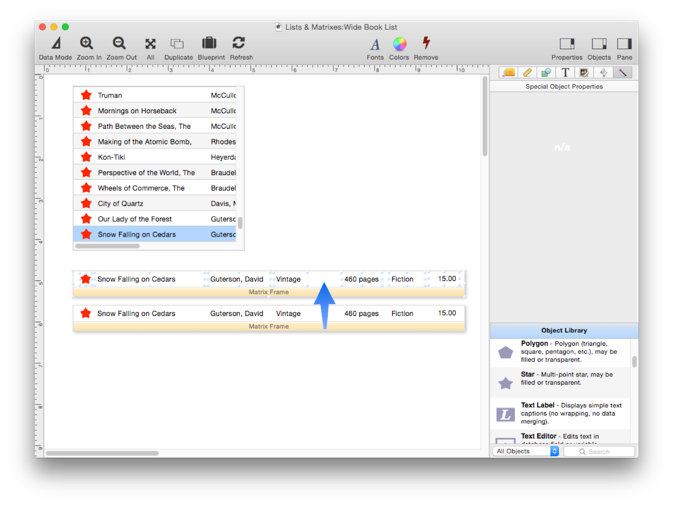
To add a header to a matrix, you must add a second Report Tile Object to the form. The easiest way to do that is usually to select the original tile and its contents and hold down the Option key while dragging it. This creates a copy of the original tile.
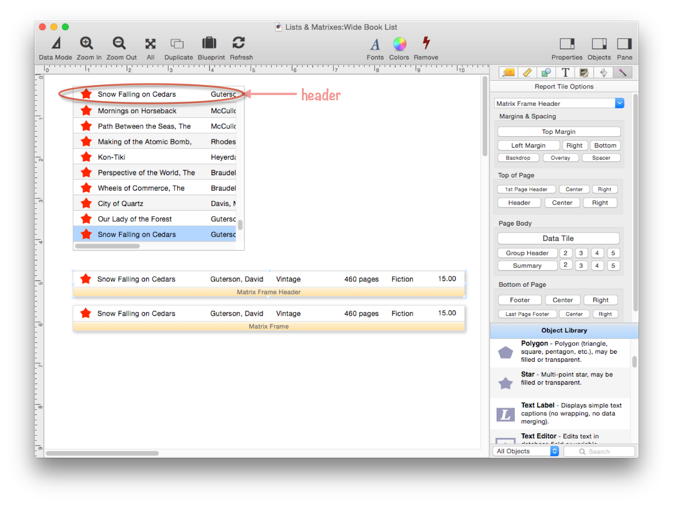
Now I select just the new copy of the matrix frame, and change the type to Matrix Frame Header.

You can also make a new Report Tile from scratch, but doing it this way the dimensions are already lined up for you.
I press the refresh button and my header shows up. It doesn’t look much like a header yet, though.
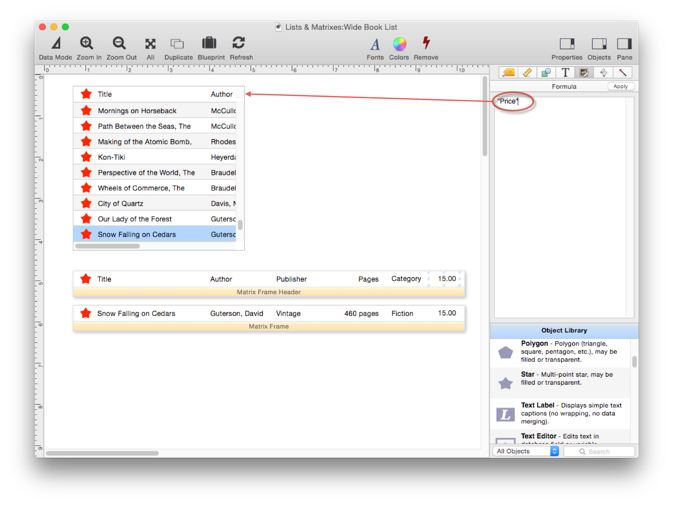
The next step is to edit all of the formulas of the Text Display objects to display the titles instead of the data (and then press the refresh button).
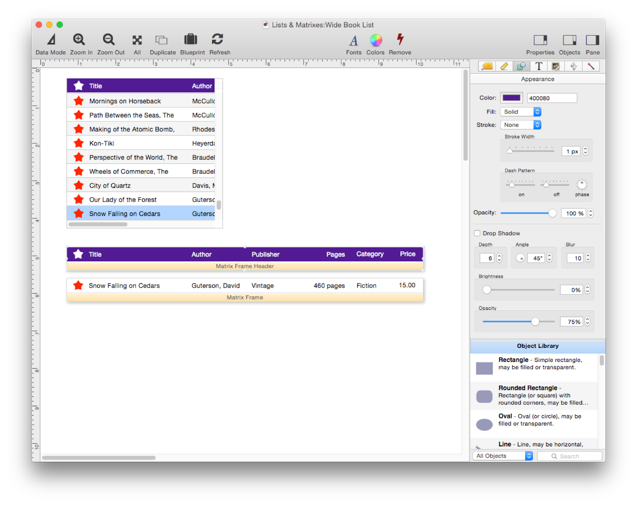
The next step is to change the color of the report tile to eggplant, and the text display objects on the tile to white. Now it really looks like a header.
There is an extra little spot that Apple puts above the scroll bar.
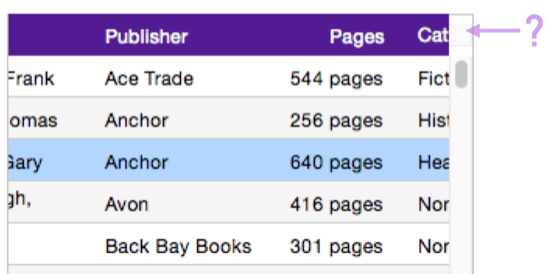
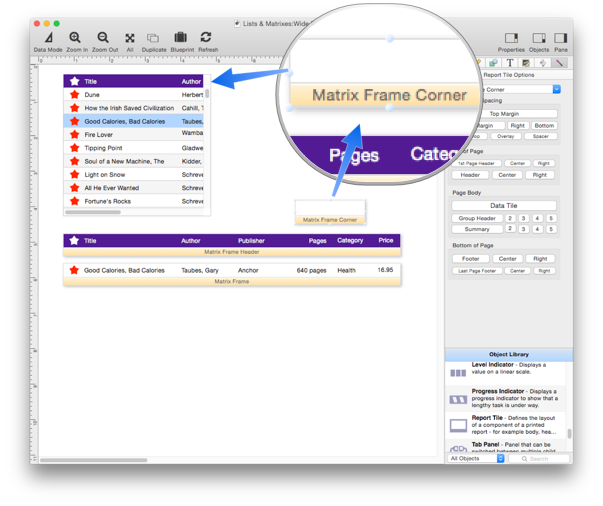
There is no way to get rid of it, but fortunately you can change the appearance of it by adding a Matrix Frame Corner report tile to the form.
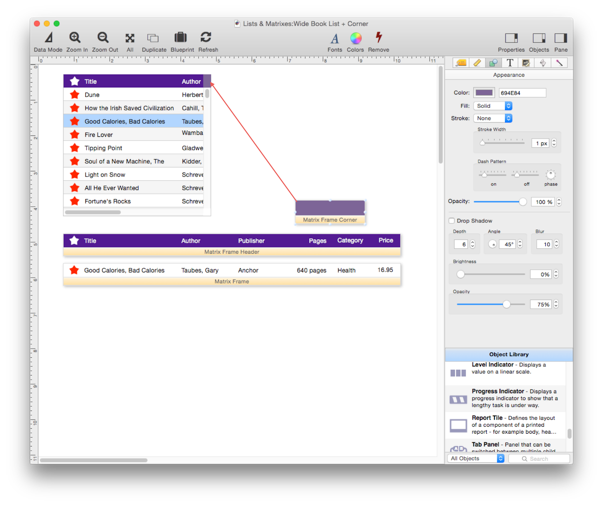
If I change the color of the Matrix Frame Corner object, the color of the spot above the scroll bar changes (remember to refresh after making any change).
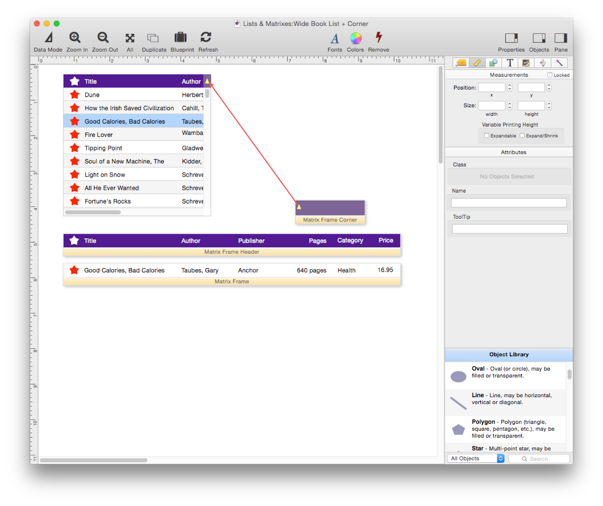
You can even put one or more objects into the Matrix Frame Corner object, though there isn’t very much room.
By the way, the header and the corner are never elastic – they are displayed at the exact same size. You can, however, change the height of the header by changing the height of the Matrix Frame Header object. The header height doesn’t have to be the same as the row height.
Matrix Header Clicks
If the user clicks on the matrix header, the code associated with the Matrix Object will be triggered, just as it is if there is a click in a matrix item. The easy way to handle this is to simply put in matrixclick as the procedure code, and then set up the code for whatever objects you want to be clickable.

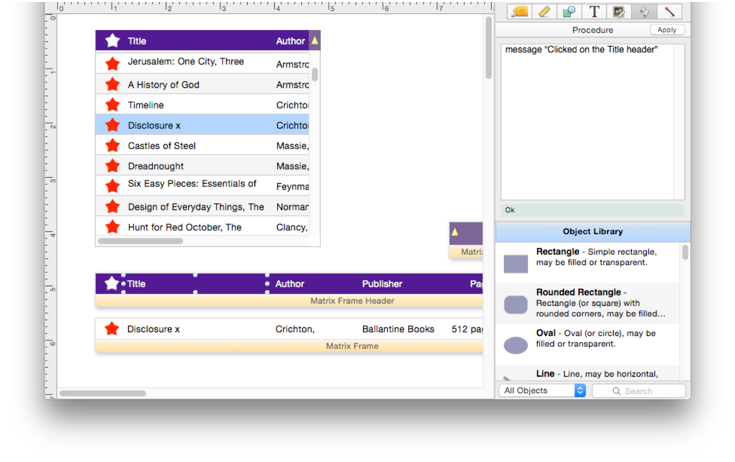
Now I click on an object in the header, and type in whatever code I want.
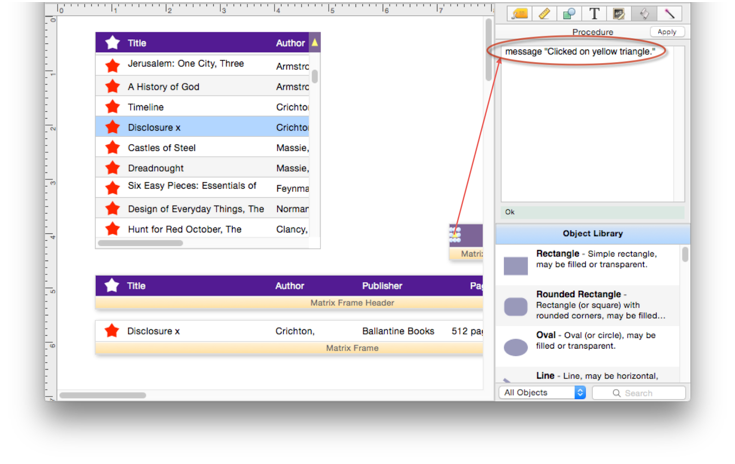
Same thing for an object in the corner.
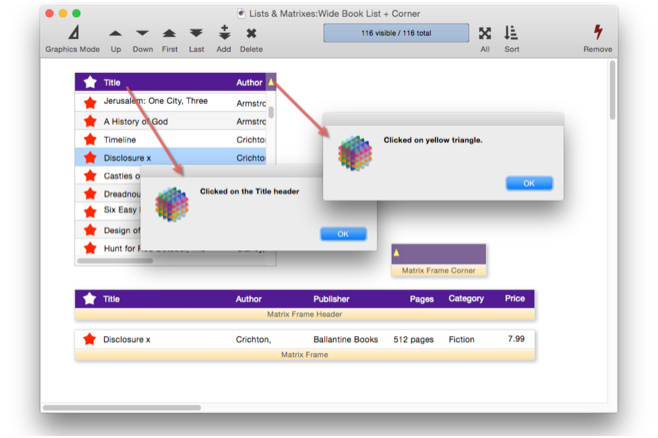
Now I can switch to data mode, click on these items and the code will run.
Matrix Header Click Information
If you want to manually handle clicks in the header, use the info(“matrixclickedframe”) function to find out which section of the matrix was clicked on.

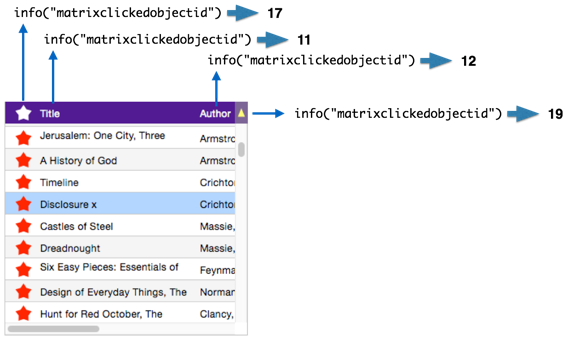
Use the info(“matrixclickedobjectid”) function to get the id number of the object that clicked on. As explained in Matrix Clicking, this can be used with objectinfo( to get any information you want from the object.
See Also
- Displaying Data in a Grid -- fundamentals of displaying data in a grid (Text List/Matrix).
- Matrix Clicking -- handling clicks in a Matrix Object.
- Matrix Constructor -- quickly creating a Matrix Object from a template.
- Matrix Database Integration -- synchronizing a Matrix Object with a database.
- Matrix Geometry -- customizing the size and geometry of Matrix Object elements.
- Matrix Object -- displaying a grid of items with a custom arrangement.
- Matrix Object Frame -- setting up the arrangement of items within a Matrix Object.
- Matrix Programming -- programming a Matrix object.
- Text List Appearance -- customizing the appearance of a Text List Object.
- Text List Constructor -- quickly creating a Text List Object from a template.
- Text List Database Integration -- synchronizing a Text List Object with a database.
- Text List Multiple Columns -- displaying multiple columns in a Text List Object
- Text List Object -- displaying a grid of text.
- Text List Programming -- programming a Text List Object.
- Text List Searching -- searching within a Text List Object.
- Text List Selection -- selecting items in a Text List Object.
History
| Version | Status | Notes |
| 10.0 | New | New in this version. |